Improve soft scans
Bring forward facial features, fabric texture, and edges that were softened by an old scanner or repeated compression.
AI old photo restoration
Improve clarity and resolution in aging family photographs online. Upload one scan, compare it with the original, and download the result without learning professional editing software.
No signup · No watermark · JPG, PNG and WebP up to 10MB
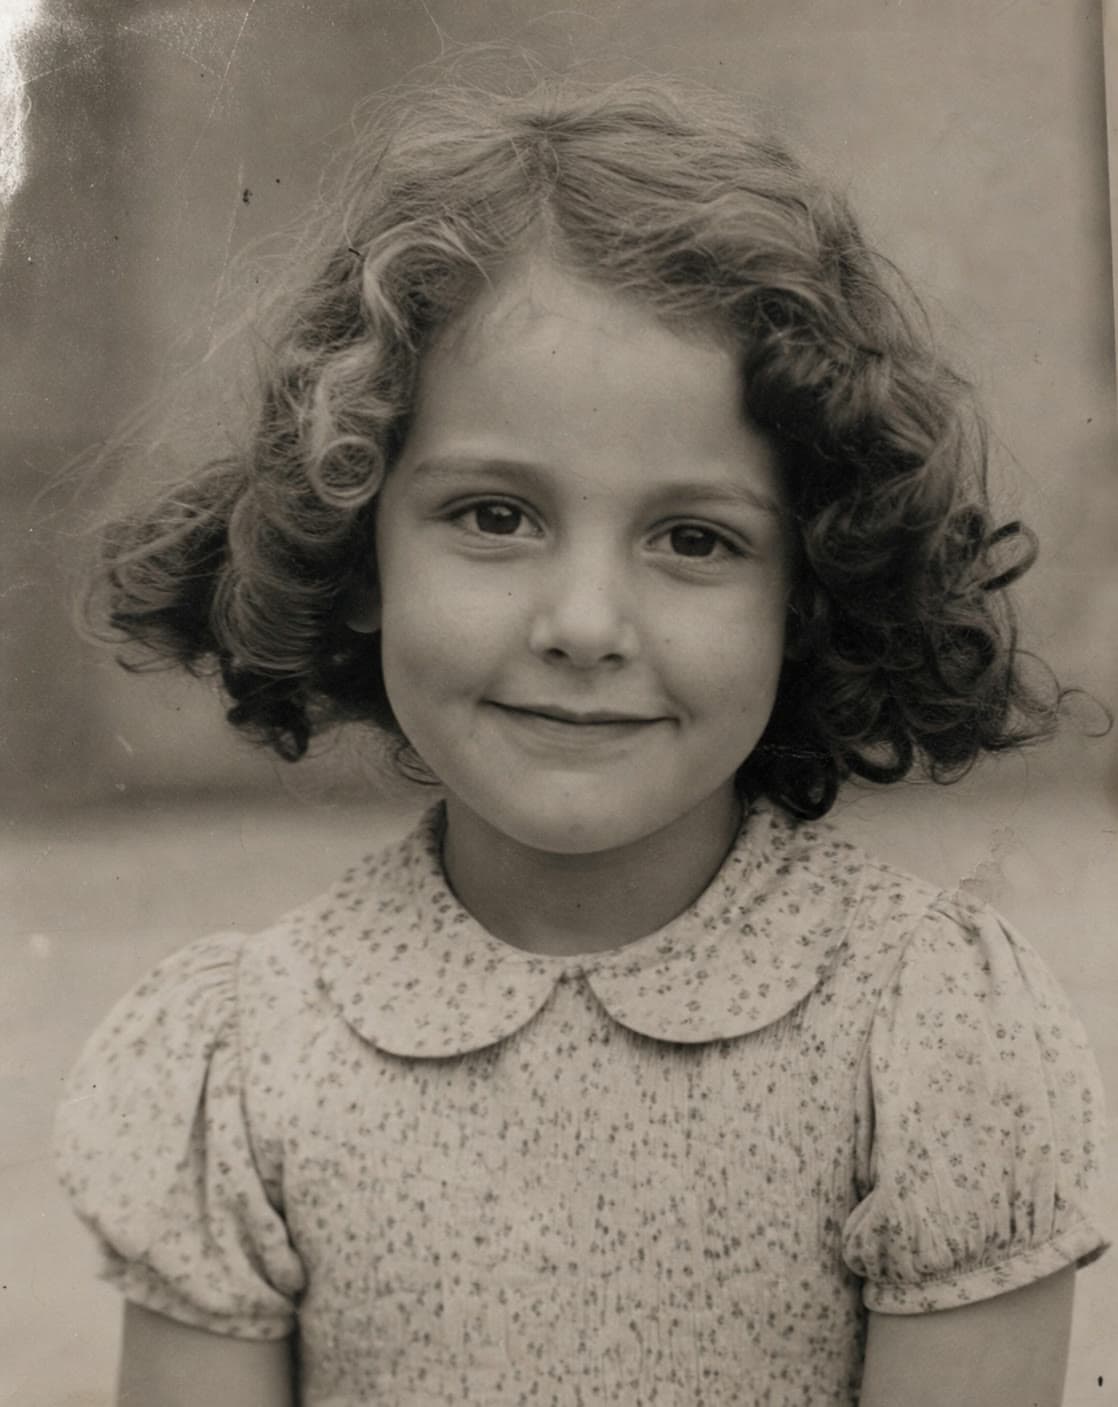 Before
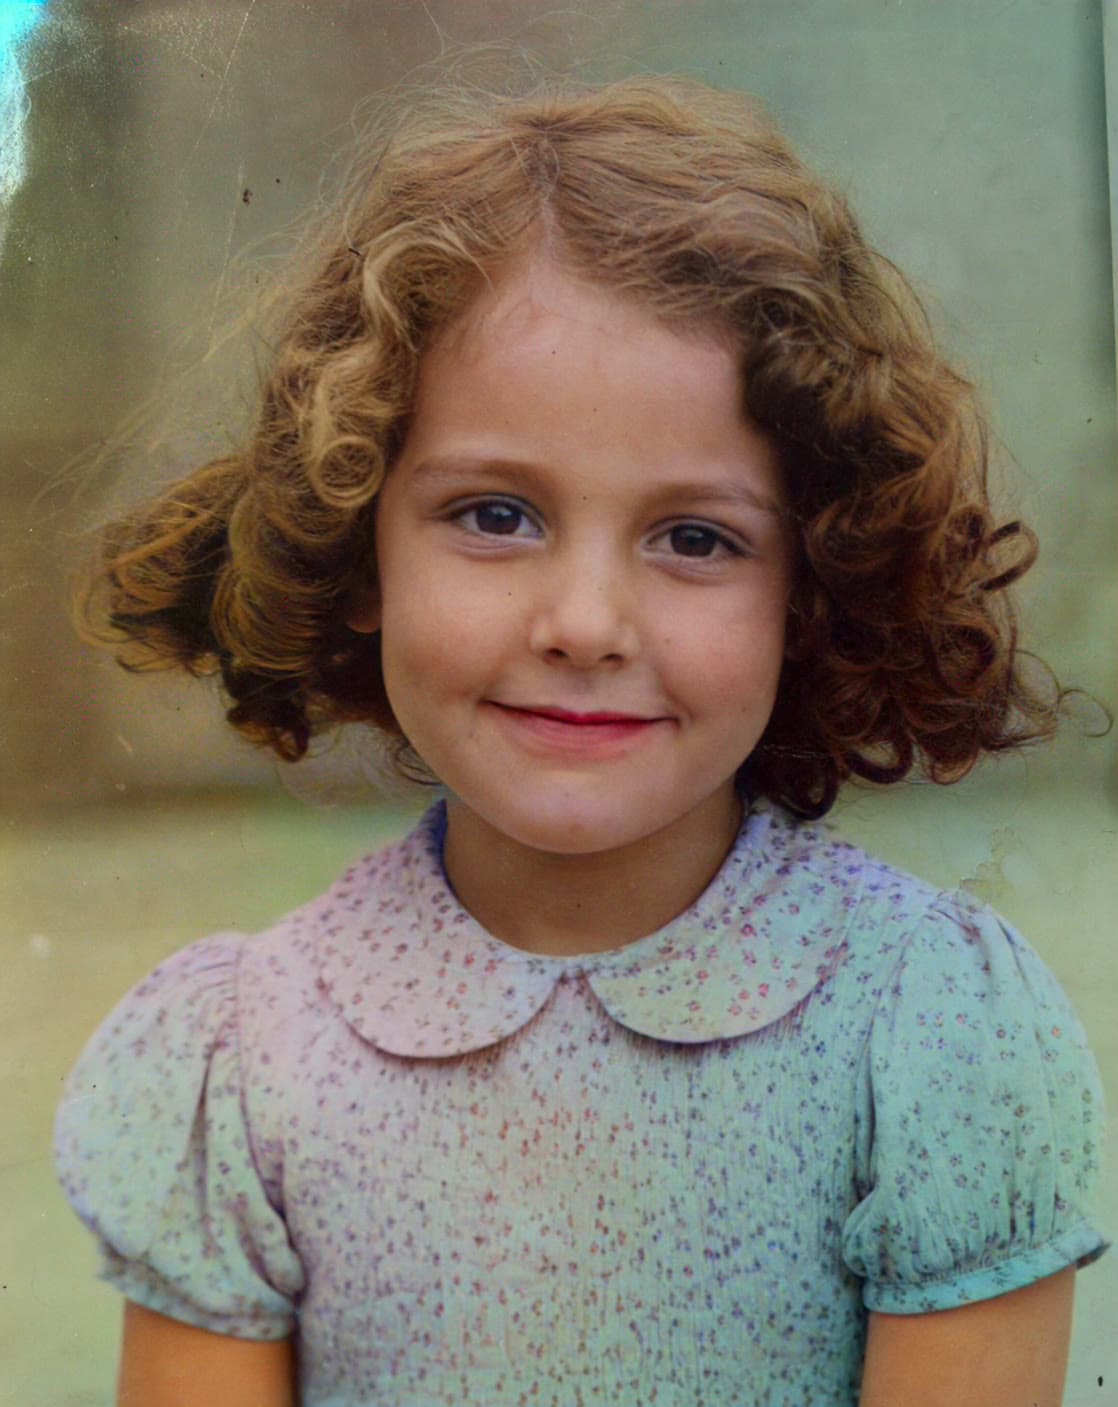 After
AfterBring forward facial features, fabric texture, and edges that were softened by an old scanner or repeated compression.
Create a larger working image for sharing and modern screens while keeping your untouched original as the archive copy.
See the source and restored result side by side so you can decide whether the interpretation still feels faithful to the photograph.
AI restoration examines patterns already present in a photograph and predicts cleaner, higher-resolution detail. It is most useful for scans that look soft, noisy, compressed, or too small on a modern display. The process can make faces and edges easier to see, but it does not recover a hidden original pixel by pixel.
That distinction matters for family archives. A restored image should be treated as a new interpretation made for viewing and sharing. Keep the highest-quality original scan beside it, especially when the photograph has historical or genealogical value.
Portraits with recognizable faces, balanced lighting, and intact main subjects usually respond best. A faded school photo, a small wedding print, or a family snapshot copied from an older album can often gain useful clarity. Scans with light dust or general softness may also look cleaner after enhancement.
Severe tears, missing faces, large painted-over areas, and heavy motion blur are different problems. The current Restore mode focuses on resolution and visible detail; it is not a manual reconstruction service and cannot guarantee faithful repair of missing regions.
Start by scanning the physical print at 300 DPI or higher. Crop away the album page, scanner lid, and empty border. Upload that clean scan, choose Restore, and compare small details such as eyes, hair, lettering, and clothing before downloading the result.
If the photograph is black and white, restore it before adding color. The clearer restored version can give the colorization model stronger shapes to interpret. Save each stage separately instead of replacing the original file.
Common questions
It may soften small blemishes, but the current Restore mode is designed mainly for clarity and upscaling. Large tears or missing areas usually need careful manual reconstruction.
No. The tool processes an uploaded copy and returns a separate result. Keep your original scan as the historical source.
For a soft black-and-white scan, restore first. Clearer shapes and faces generally provide a better source for a later colorization.
You can upload JPG, PNG, or WebP files up to 10MB. A clean scan generally works better than a compressed messaging-app copy.